
AI Agents
This page explains how to configure AI Agents in Brinpage Platform using the dashboard interface. You’ll learn how to create an agent, how routing works, how to attach tools and context modules, and how to validate everything using the built-in testing panel.
The goal is simple: keep your setup predictable (clear configuration), scalable (multiple agents and modules), and safe (changes are testable before they affect production routing).
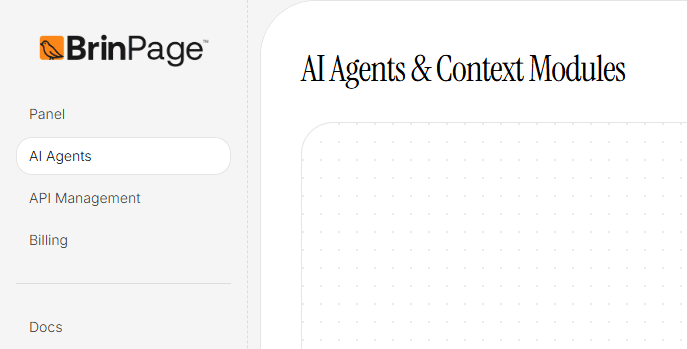
Where to find AI Agents
In the left sidebar, click AI Agents. This opens the configuration area where you manage agents, context modules, and the global Base Prompt.
If this is your first time using the Platform, you may see an empty state: no agents, no context modules, and only a Base Prompt (often empty by default). That’s expected — you’re starting from a clean configuration layer.
Base Prompt
The Base Prompt is the global instruction layer. Every request that goes through the system passes through this prompt before an agent is selected. It’s typically used to define consistent behavior and global rules that apply across your setup.
- Use it to define tone, style, and global constraints.
- Keep it stable. If you need specialized behavior, push that logic into specific agents.
- Think of it as the “company policy” layer: small, clear, and consistent.
Practical tip: avoid putting tool instructions in the Base Prompt. Tool usage usually belongs inside the specific agent’s instructions, so behavior remains modular and easier to debug.
Create a new agent
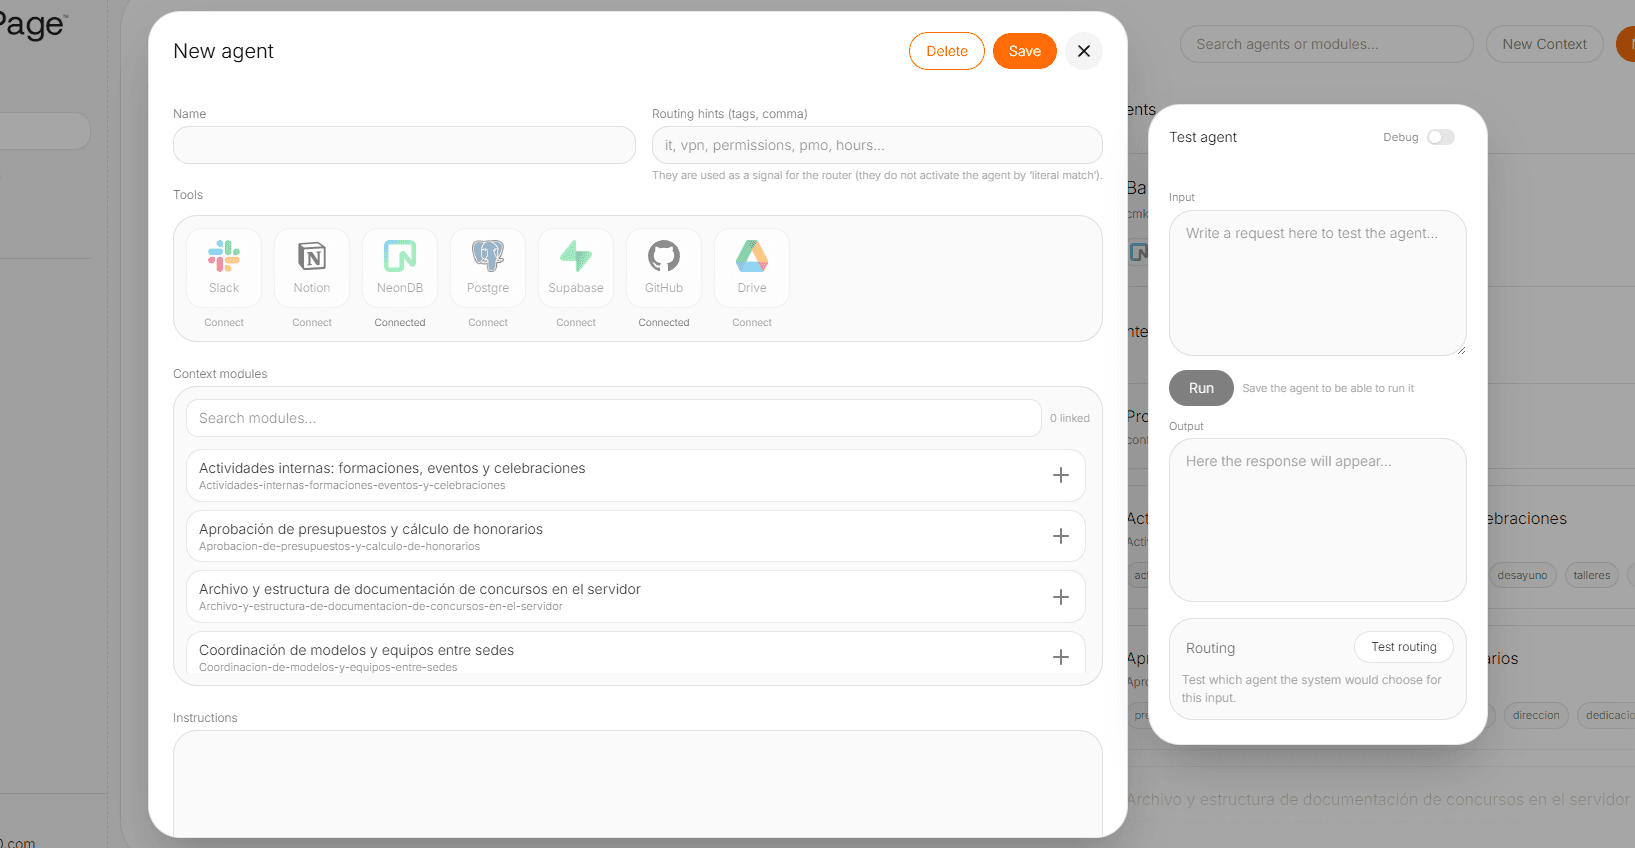
To create an agent, click New Agent (top-right). A configuration modal will open immediately. This modal is where you define the agent’s identity, routing hints, capabilities (tools), knowledge access (context modules), and operating instructions.
Important: changes are not persisted until you click Save (top-right of the modal). If you close the modal without saving, your configuration will be lost.
Agent name
The Name field is an internal label. It helps you identify agents quickly inside the dashboard. It does not need to match user-facing naming — its job is operational clarity for your team.
Routing hints (tags)
Routing hints are comma-separated tags used as a signal for the routing system. They do not activate the agent by exact keyword matching. Instead, they help the router decide which agent is the best fit for a request based on meaning and context.
Write routing hints like you’re describing the agent’s “coverage area”: topics, workflows, and the kind of requests the agent should own. Focus on intent, not literal keywords.
Tools
Tools expand what an agent can do. A tool can represent an integration, an API connector, or an internal action. When a tool is attached, the agent can use it to complete tasks that require external data or operations.
- To attach a tool, simply click it in the Tools section.
- The first time, you may be prompted for setup details (OAuth authorization, configuration URL, credentials, etc.).
- After it’s connected, it can be reused without repeating the setup (unless the connection expires or is revoked).
Tools define capability. If an agent should “do” something (fetch, search, update, generate a file, query a service), it usually needs the relevant tools attached.
Context modules
Context modules are structured knowledge blocks the agent can reference. They can include guidelines, internal documentation, policies, product information, or any content that should be injected as trusted context for the agent.
When you link a context module to an agent, it becomes available only to that agent. This is useful when you want clear boundaries: each agent should have access only to the information it needs.
This design keeps routing and debugging clean: when the agent answers, you already know which context modules it could have used.
Instructions
The Instructions field defines how the agent should behave and how it should operate tools. If routing hints define when the agent should be selected, instructions define what the agent does once it’s selected.
- How to use tools (what to call, in what order, and what to do with results).
- Response quality expectations (structure, level of detail, formatting).
- Operational constraints (what not to do, safety or compliance rules, fallback behavior).
- Escalation rules (when to ask for clarification, when to decline a request, when to provide alternatives).
Best practice: write instructions as if you were onboarding a new teammate. Be explicit, prioritize repeatability, and define defaults for ambiguous cases.
Policies (JSON)
The Policies (JSON) field is an optional structured configuration layer for advanced agent behavior. While instructions describe behavior in natural language, policies define machine-readable rules that the platform can interpret more directly.
This field is useful when an agent needs explicit configuration beyond prompt instructions — for example, environment rules, structured resolution behavior, data access preferences, or deterministic execution settings that should not rely only on free-text interpretation.
- Use valid JSON only.
- Prefer this field for structured system behavior, not for conversational guidance.
- Keep it minimal and intentional: only define policies that the agent or platform actually needs.
- Avoid mixing public documentation examples with private implementation details, credentials, or internal query logic.
Best practice: treat Policies (JSON) as an advanced field for technical teams. If a behavior can be expressed clearly in instructions, start there. Use policies when you need stronger control, predictable configuration, or integration-specific settings.
Save your agent
Once the configuration is ready, click Save in the top-right corner of the modal. This persists the agent and makes it available for routing and testing.
After saving, you should see the agent listed in the AI Agents page, with the tools and context modules attached.
Test agent behavior and routing
On the right side of the agent modal, you’ll find the Test agent panel. This panel is designed for fast validation: you can simulate a user request, inspect the output, and verify routing logic.
- Input: write a request you want to test.
- Run: executes the test. You must save the agent first.
- Output: shows the response result.
- Test routing: checks which agent the system would choose for that input.
Use this panel to catch routing issues early (wrong agent selection, weak routing hints) and to confirm tool instructions produce the expected behavior before changes go live.
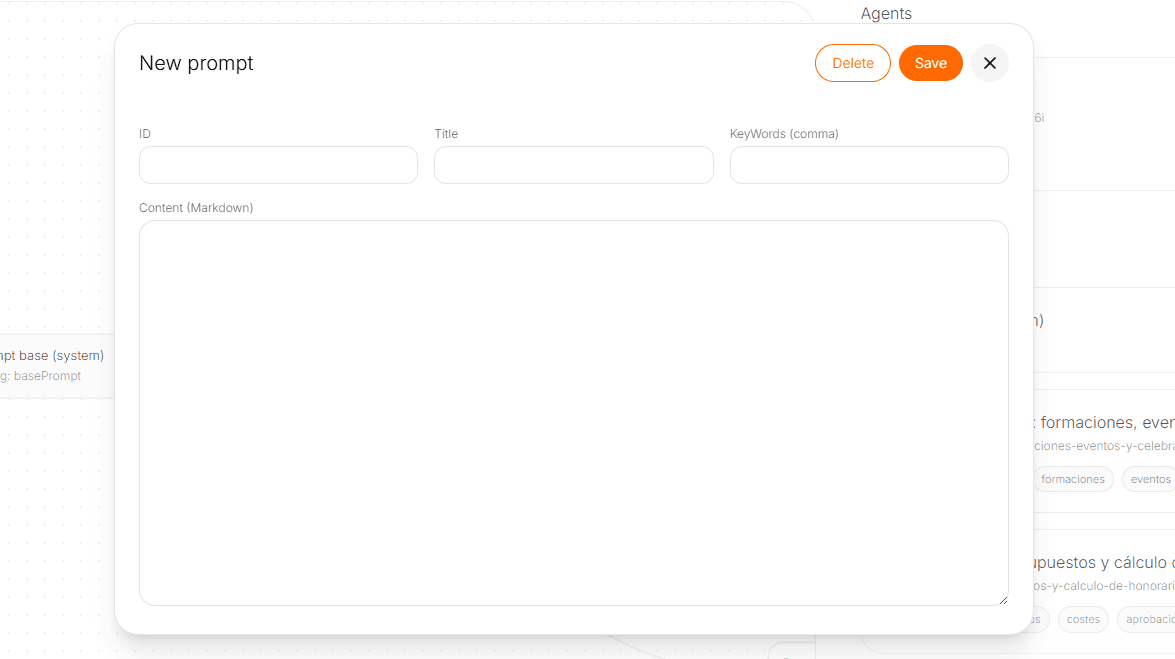
Create context modules
From the same page, you can create context modules (sometimes labeled as prompts or context prompts). These are reusable blocks of content that you can later attach to agents.
Click New prompt to create a new module. You’ll typically configure:
- ID: unique internal identifier.
- Title: human-readable label for quick scanning.
- Keywords (comma): discoverability signals for searching and organization.
- Content (Markdown): the actual context content injected into the agent when linked.
Context modules are most effective when they are focused and composable: smaller modules are easier to reuse and safer to update.
Recommended workflow
- Define stable global behavior in the Base Prompt.
- Create a focused agent for a clear set of requests.
- Add routing hints to help the router select it correctly.
- Attach the required tools to enable real operations.
- Link the relevant context modules to provide trusted information.
- Write explicit instructions (tool usage + response structure).
- Add Policies (JSON) only when structured configuration is required.
- Click Save, then validate using the Test agent panel.
Once you’re confident the agent behaves correctly and routing is selecting it for the right inputs, you can move on to more advanced setups (multiple agents, overlapping responsibilities, tighter routing strategies, and richer toolchains).
Next: learn how to configure models and request parameters in API Management.